Each Сard in one copy is made individually
Here’s a detailed step-by-step description of how I, as an artist, process birch bark into thin sheets for creating beautiful greeting cards. This method focuses on using bark from fallen, dead birch trees to ensure no living trees are harmed.
Step 1: Collection of Birch Bark
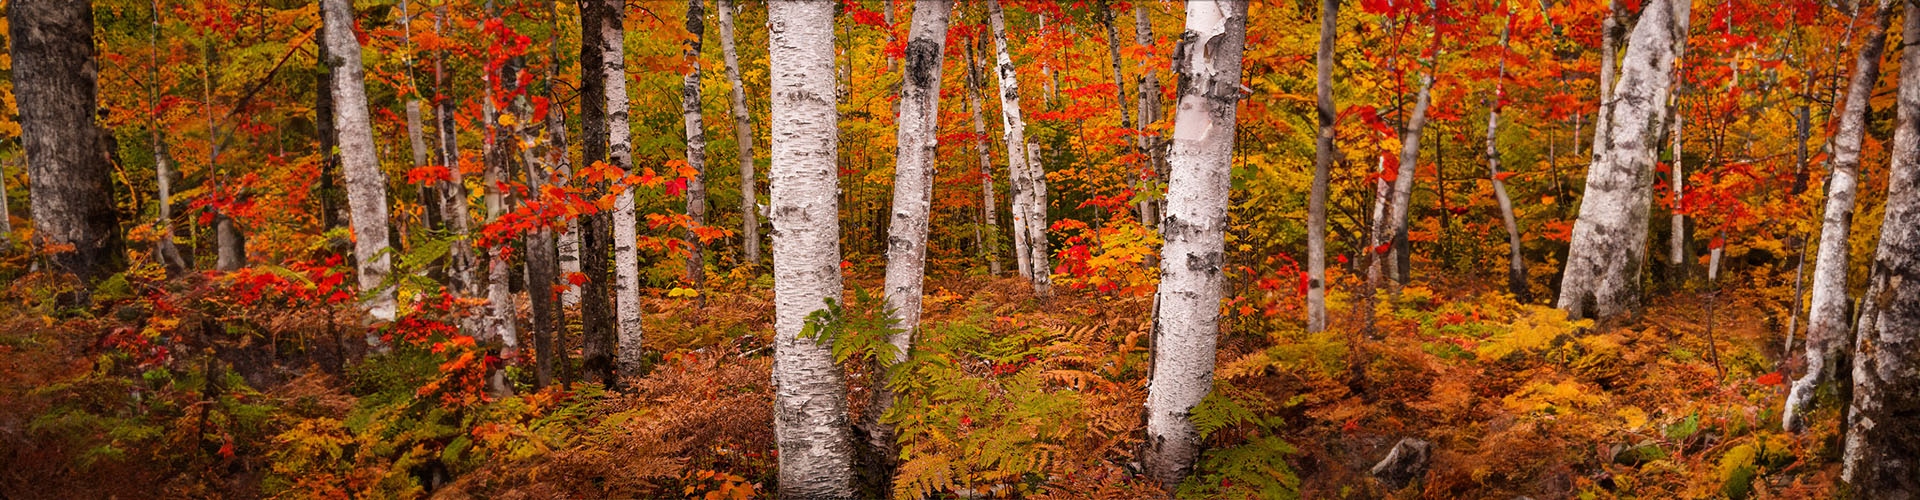
Finding the Right Source: I search for fallen birch trees in forests or wooded areas. I specifically look for trees that have naturally died, ensuring that I’m only using bark from trees that have already completed their life cycle.
Selecting Quality Bark: I choose pieces of bark that are intact and have a good texture. The outer bark should be mostly free of rot and major damage, which allows me to create high-quality sheets.
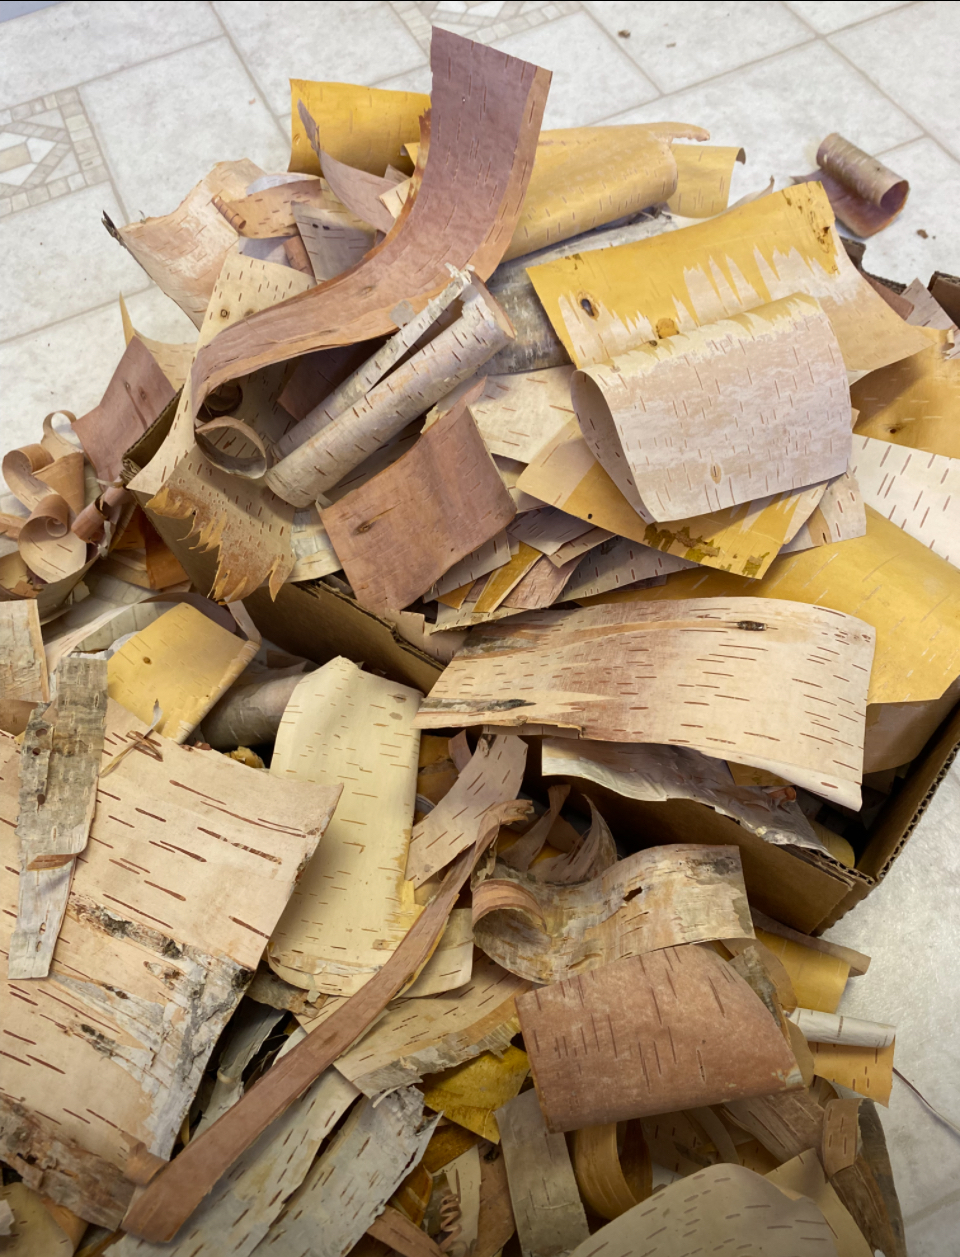
Harvesting: With a sharp knife, I carefully cut sections of the bark from the fallen tree. I prefer to take larger pieces, as they provide more material to work with for my greeting cards. I always make sure to leave the surrounding area as natural as possible.
Step 2: Cleaning Birch Bark
Removing Debris: After harvesting, I gently brush off any dirt, leaves, or small twigs from the bark using a soft brush. This helps reveal the clean surface underneath.
Washing: I rinse the bark under cool running water to remove any remaining dirt. This step is crucial for ensuring that the bark is clean and ready for processing.
Drying: I lay the washed bark flat on a clean surface or hang it up to air dry completely. This prevents mold and prepares it for the next steps.
Step 3: Peeling of Layers
Examining the Bark: Once dry, I inspect the bark for its layers. Birch bark consists of an outer protective layer and a softer inner layer. My goal is to separate these without causing damage.
Careful Peeling: Using my sharp knife, I make shallow cuts to peel away the outer layer. I take my time with this step to ensure that I don’t tear the inner layer, which is vital for flexibility.
Achieving Thinness: I continue peeling until I reach the desired thinness for my sheets. I aim for uniformity, as this will help in creating smooth and consistent greeting cards.
Step 4: Leveling Under Pressure
Preparing for Pressing: After obtaining my thin sheets, I stack them between two pieces of smooth, flat wood. This helps to ensure an even surface for the final product.
Applying Weight: I place weights or clamps on top of the stacked bark. This pressure helps flatten the sheets and removes any remaining moisture, ensuring they don’t curl.
Drying Under Pressure: I leave the sheets under pressure for several hours or even overnight. This step is essential for maintaining their shape and preparing them for cutting.
Step 5: Cutting Out Parts for Greeting Card Composition
Design Planning: I start by sketching my greeting card designs on paper. I consider the size and elements I want to include, such as decorative motifs or messages.
Transferring Designs: Using a pencil, I lightly draw my designs onto the birch bark sheets. This ensures that my final cuts will align with my artistic vision.
Cutting: With a craft knife or scissors, I carefully cut out the shapes and elements from the birch bark. I pay attention to detail, ensuring clean edges for a polished look.
Step 6: Making the Greeting Cards
Creating the Card Base: I select sturdy paper or cardstock for the card base, cutting it to my desired size (like A6 or A5).
Attaching Birch Bark: Using a strong adhesive, I attach the birch bark cutouts to the card base. I ensure that the pieces are well-aligned and spaced according to my design.
Adding Personal Touches: I like to embellish my cards with additional elements such as ribbons, stamps, or handwritten notes. This adds a unique touch to each card.
Final Assembly: Once everything is adhered and dry, I check for any loose edges and secure them if needed. My greeting cards are now complete and ready to share!
Conclusion
Through this meticulous process, I transform beautiful birch bark into unique greeting cards, celebrating the natural beauty of the material while respecting nature. Each card reflects my artistry and the charm of the birch tree. I hope you enjoy exploring this craft as much as I do!